
An aquarium silicone seal leaking is a flooding and glass-failure hazard, not a cosmetic problem: a compromised seam can let a full tank's worth of water out fast, and if that water reaches an outlet, powerhead or heater cord, it is an electrical hazard too. If water is actively coming out right now, the safe response is to drain the tank and get a professional inspection of the glass and seals, not to squeeze fresh silicone around a corner while the tank is still full. Below is how to tell early weeping from an active failure, why the seal gave out, and what a proper reseal actually involves.
Signs Your Aquarium Silicone Seal Is Leaking
Most seal failures announce themselves before they flood a room. Watch for:
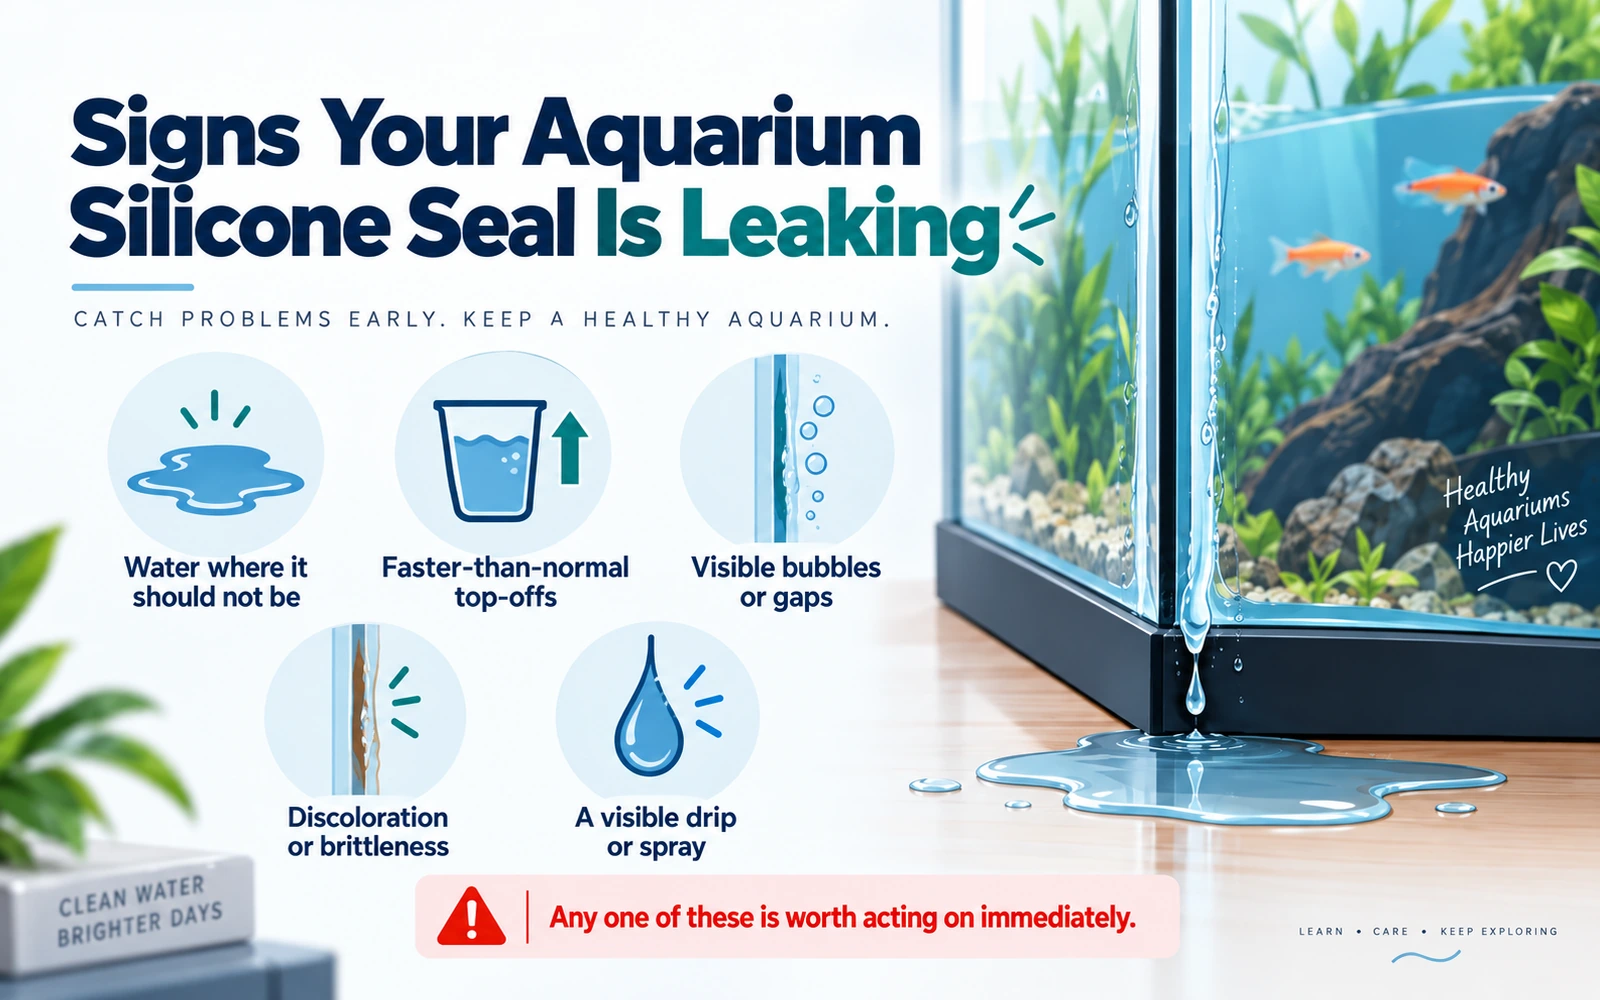
- Water where it should not be. A damp patch on the stand, a wet line on the carpet behind the tank, or a puddle that reappears no matter how many times you wipe it up.
- Faster-than-normal top-offs. If you are adding more water between changes than evaporation would explain, something is leaving the tank.
- Visible bubbles or gaps in the silicone. Long thin bubbles or a lifted edge where the bead has pulled away from the glass are both signs the bond is separating, even before any water shows.
- Discoloration or brittleness. Healthy aquarium silicone stays flexible and stays clear or black. Silicone that has gone cloudy, yellowed, or feels hard and cracked when you press it has aged past its working life.
- A visible drip or spray. At the extreme end, water forces itself through a pinhole in the seam under hydrostatic pressure and you can see it moving.
Any one of these is worth acting on immediately, not filing away for the next water change.
Why Silicone Seals Fail in the First Place
Aquarium glass panels are not held together by the frame, they are held together by the silicone bead between them, and that bead is doing structural work every hour the tank is full. Three things wear it out.
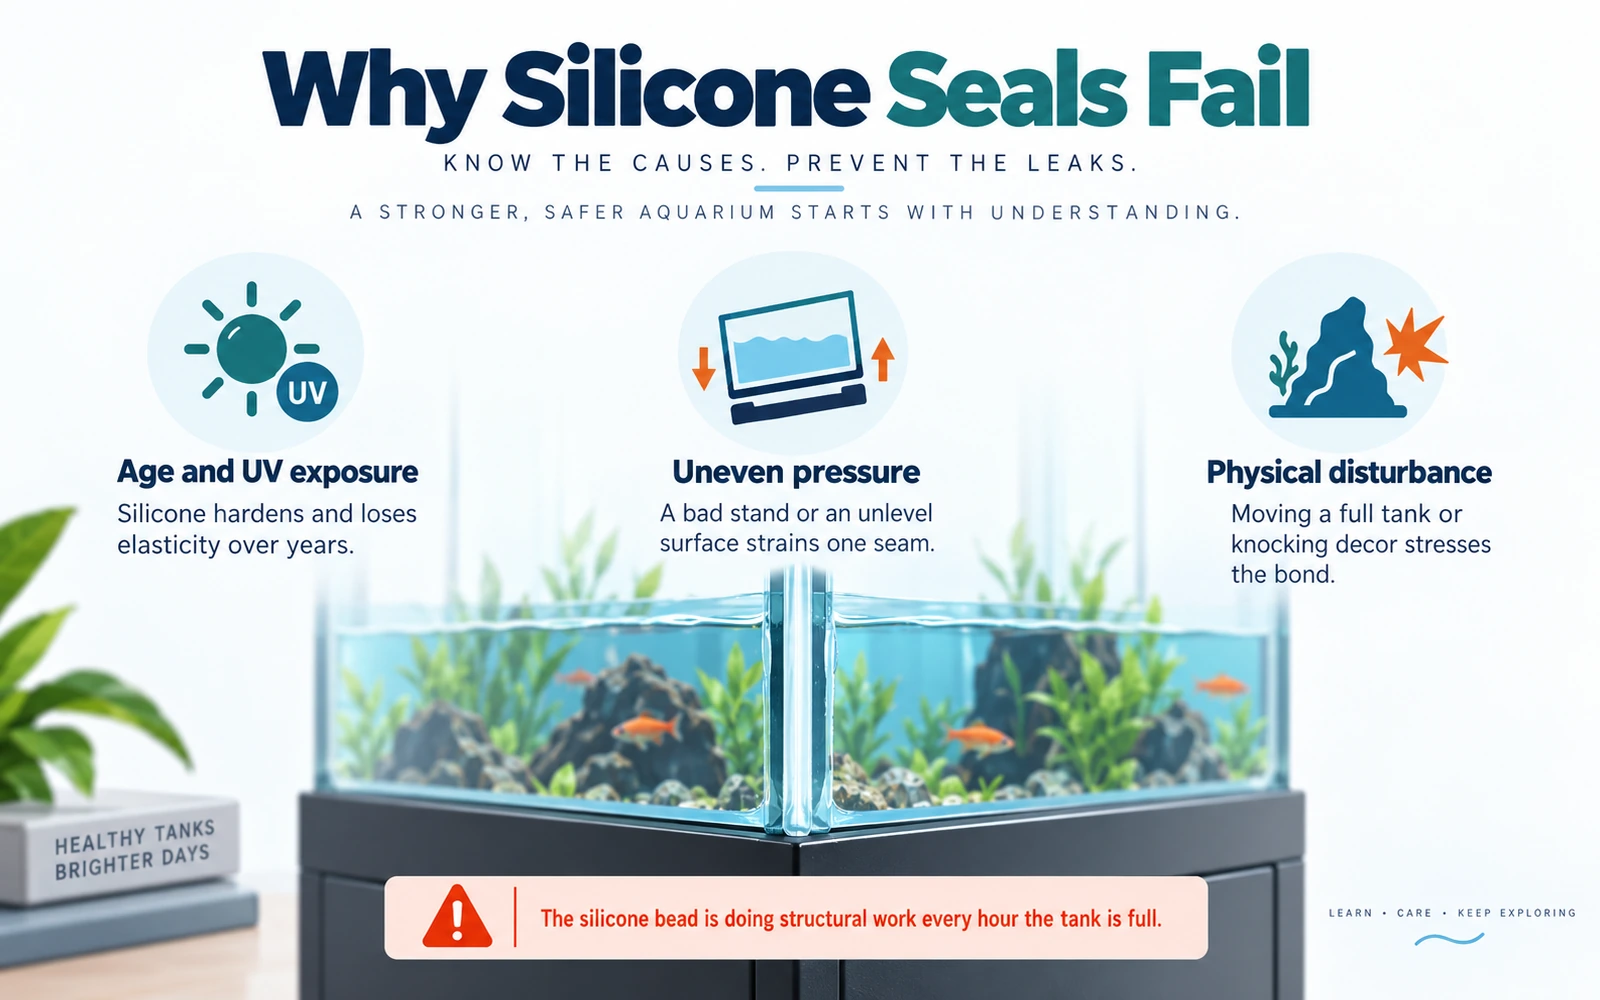
Age and UV exposure. Silicone hardens and loses elasticity over years, faster under direct sun or strong aquarium lighting. A seal that has been fine for a decade can still be near the end of its working life.
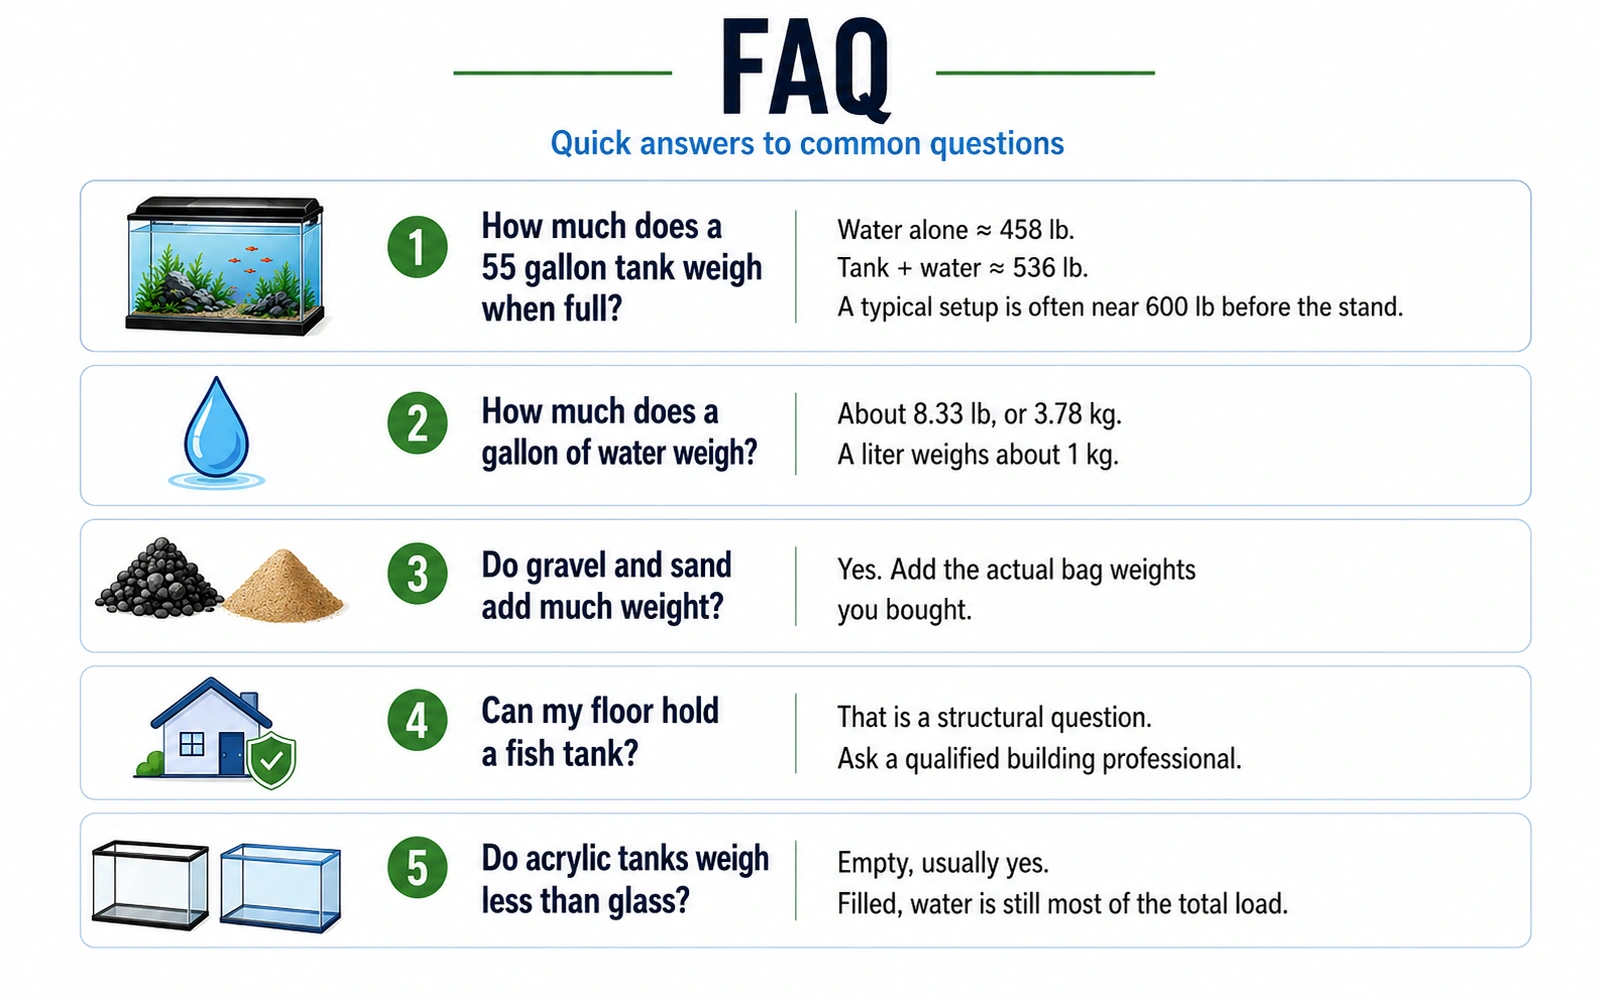
Uneven pressure from a bad stand or an unlevel surface. Water pushes outward on every panel equally only if the tank itself sits level and fully supported. A stand that flexes, a single high spot under one corner, or a tank set on furniture that was not built to spec puts extra strain on one seam while the others carry less, and that seam is the one that goes first. Because the load scales directly with how much water the tank holds, it is worth working out the actual filled weight of your tank before you trust a stand or a floor to carry it evenly.
Physical disturbance. Moving a full or partly full tank, dropping decor against a seam, or repeated flexing from being knocked all stress the bond in ways a static tank never experiences.
None of these are a reason for alarm on their own, but a tank showing more than one of them at once (old, on a marginal stand, and now weeping) has more than one thing working against the seal at the same time.
If Water Is Actively Coming Out Right Now
This is the point where speed matters more than technique.
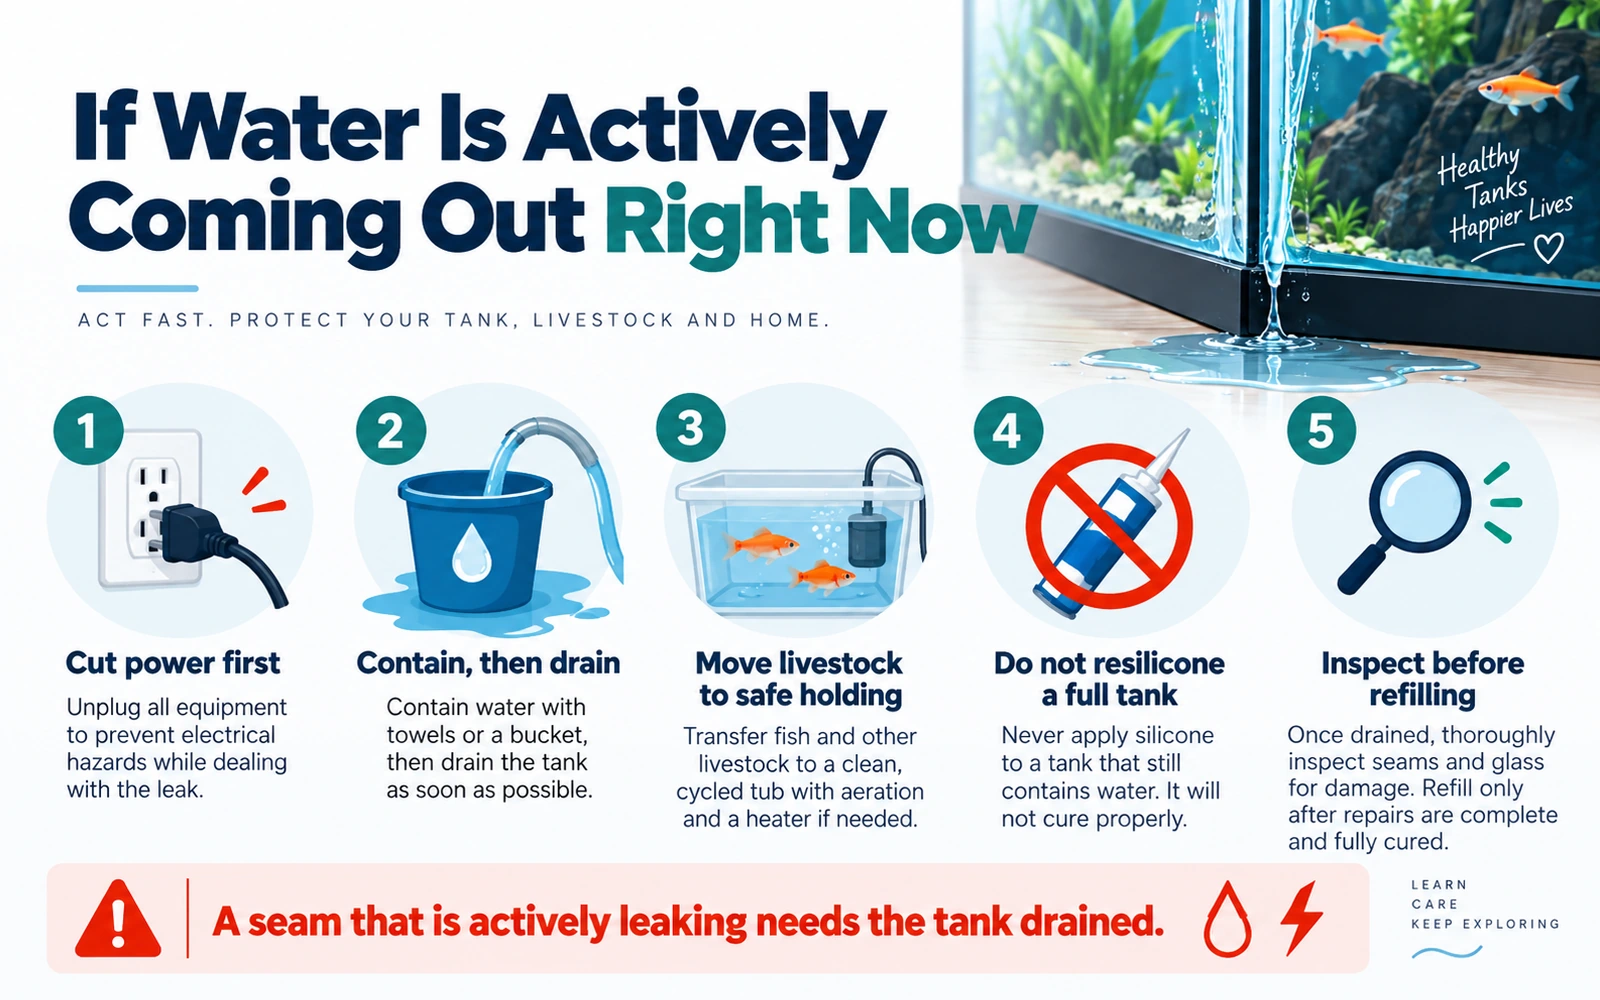
- Cut power to anything near the water first. Unplug the heater, filter and any powerhead at the wall, not by reaching into wet electrics, before you touch the tank. Water and mains current near an aquarium is a shock hazard, and a leak is exactly the situation where cords and outlets get wet.
- Contain, then drain. Towels and a bucket for the immediate mess, then move to draining the tank down, not topping it up or hoping it stabilizes. A seam that is actively letting water through under pressure will not seal itself, and every hour it stays full is another hour of load on a bond that has already started to fail.
- Move the livestock to safe holding, not a bucket on the counter for hours. A cycled quarantine tank with a heater and a sponge filter, even a spare bin with an air stone, buys you time without adding a second stressor on top of the emergency move.
- Do not resilicone a full or partly full tank. Silicone needs a bone-dry, degreased surface to bond, and it cannot cure properly against standing water or humidity trapped in a live seam. A bead applied over a wet or active leak looks like a fix for a day and fails again, usually worse, because now there is uncured silicone contaminating the repair area too.
- Get the glass and the full seal inspected before refilling. A seam that failed in one spot on an older tank is frequently compromised in others that have not let go yet. If the leak was large, fast, or you cannot tell whether a panel itself is cracked, that inspection should come from someone who does this professionally, not a visual check from across the room.
When It Is a Slow Weep, Not a Gush
A small, slow seep, caught early, still needs the tank emptied and properly assessed. It does not mean the situation is safe to leave running while you decide what to do. Treat the timeline as days, not months: drain, dry, and inspect the whole seal, because a slow weep today is frequently the same failure a large leak will be in a few weeks, just earlier in its progression.
How a Full Reseal Actually Works, Once the Tank Is Empty
A reseal is not a bead over the old silicone. It is a full strip-and-rebuild of the seam:
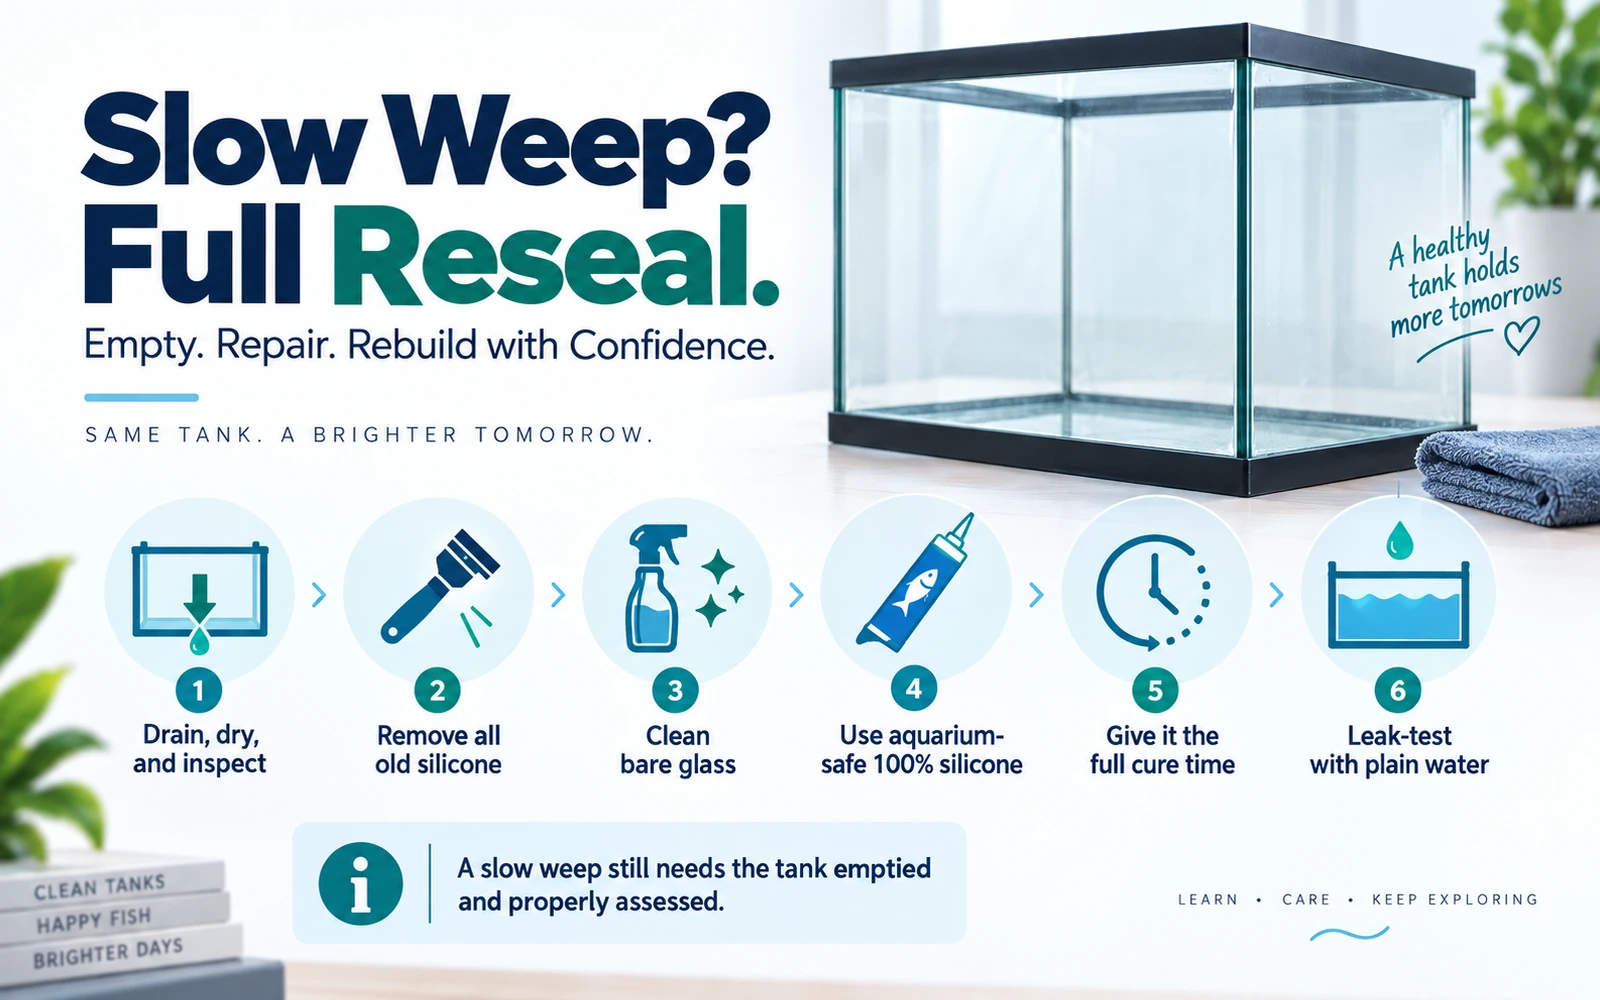
- Fully drain and dry the tank, then remove all old silicone from the seam with a razor blade, working carefully so you do not scratch or gouge the glass edges.
- Clean the bare glass with isopropyl alcohol and let it dry completely. Any residue, grease, or moisture left behind stops the new bead from bonding.
- Use only aquarium-safe 100% silicone, never a bathroom or construction silicone with mildewcides or fungicides added. The independent aquarium technical reference Aquarium Science explains that general-purpose silicones can carry meaningfully higher levels of D4 (a silicone byproduct linked to reduced growth and reproduction in fish) than products formulated specifically for aquarium use, which is why "100% silicone" and "aquarium-safe silicone" are not interchangeable labels (read 2026-09-18). Pentair AES, one manufacturer of aquarium-specific sealant, states its product is formulated without mold or mildew inhibitors and lists a roughly 48-hour cure before the seal is considered fish-safe (read 2026-09-18).
- Run a continuous bead, not a patched or segmented one, along every seam that was touched, and give it the full manufacturer cure time before any water goes back in.
- Leak-test before restocking. Fill with plain water only, away from flooring you care about, and leave it for several days watching every seam before you add substrate, decor, or livestock back in.
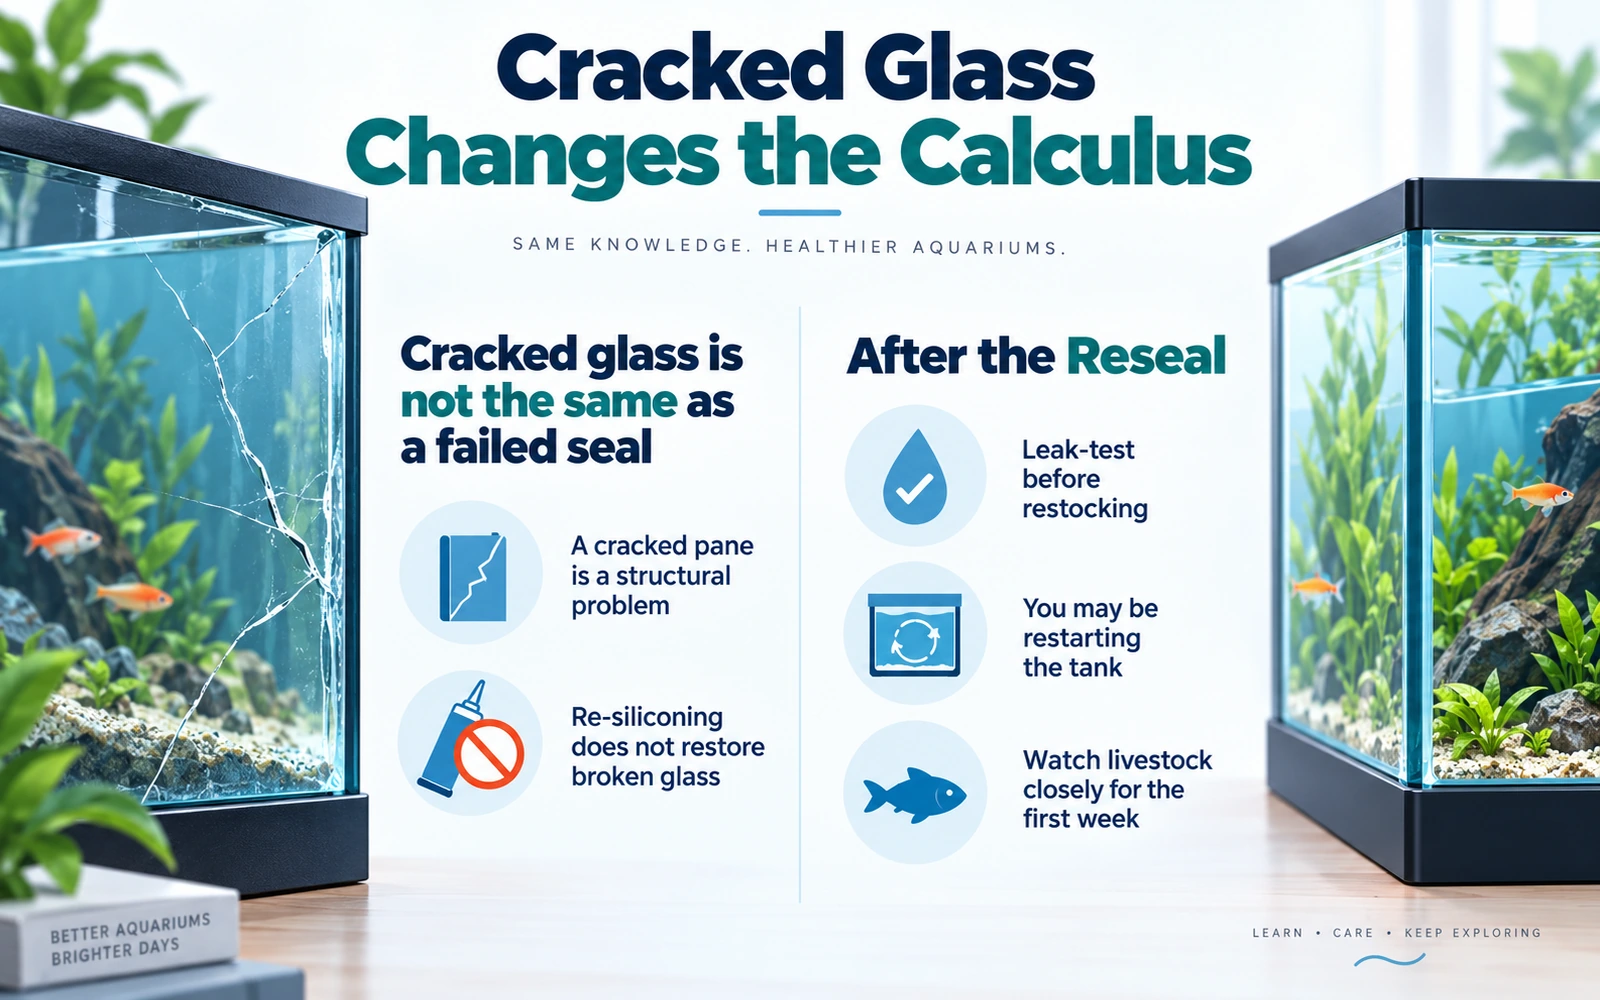
Cracked Glass Changes the Calculus
Silicone failure and glass failure are not the same problem, and it matters which one you actually have. A hairline crack confined to the bottom panel of a small tank is sometimes repairable. A crack running into a side panel, or any crack on a larger tank, is a structural problem: the pane itself is compromised, not just the bond holding it in place, and re-siliconing around a cracked pane does not restore the strength the glass has lost. For anything beyond the smallest tank, a cracked side panel generally means panel replacement or a new tank, assessed and done by someone who works with aquarium glass, not a home fix.
After the Reseal: Curing, Testing, and Restocking Safely
Do not rush the return to a "normal" tank. Once the leak test confirms a dry seal, you are effectively restarting a tank, not resuming one, especially if the drain and dry period ran more than a day or two and the filter's bacteria colony went with it. Check what actually makes a tank ready before shrimp or fish go back in rather than assuming a tank that held water yesterday is biologically the same tank today. Watch the returning livestock closely for the first week: an emergency move is stressful, and if a fish stops eating, hides constantly, or you find one has died with no obvious cause, the first-hour checklist for an unexplained fish death is the right next step, not guesswork. Any animal that looks injured, is bleeding, or is struggling to breathe after the move should go to an aquatic veterinarian, not be treated at home on a hunch.
Preventing the Next Seal Failure
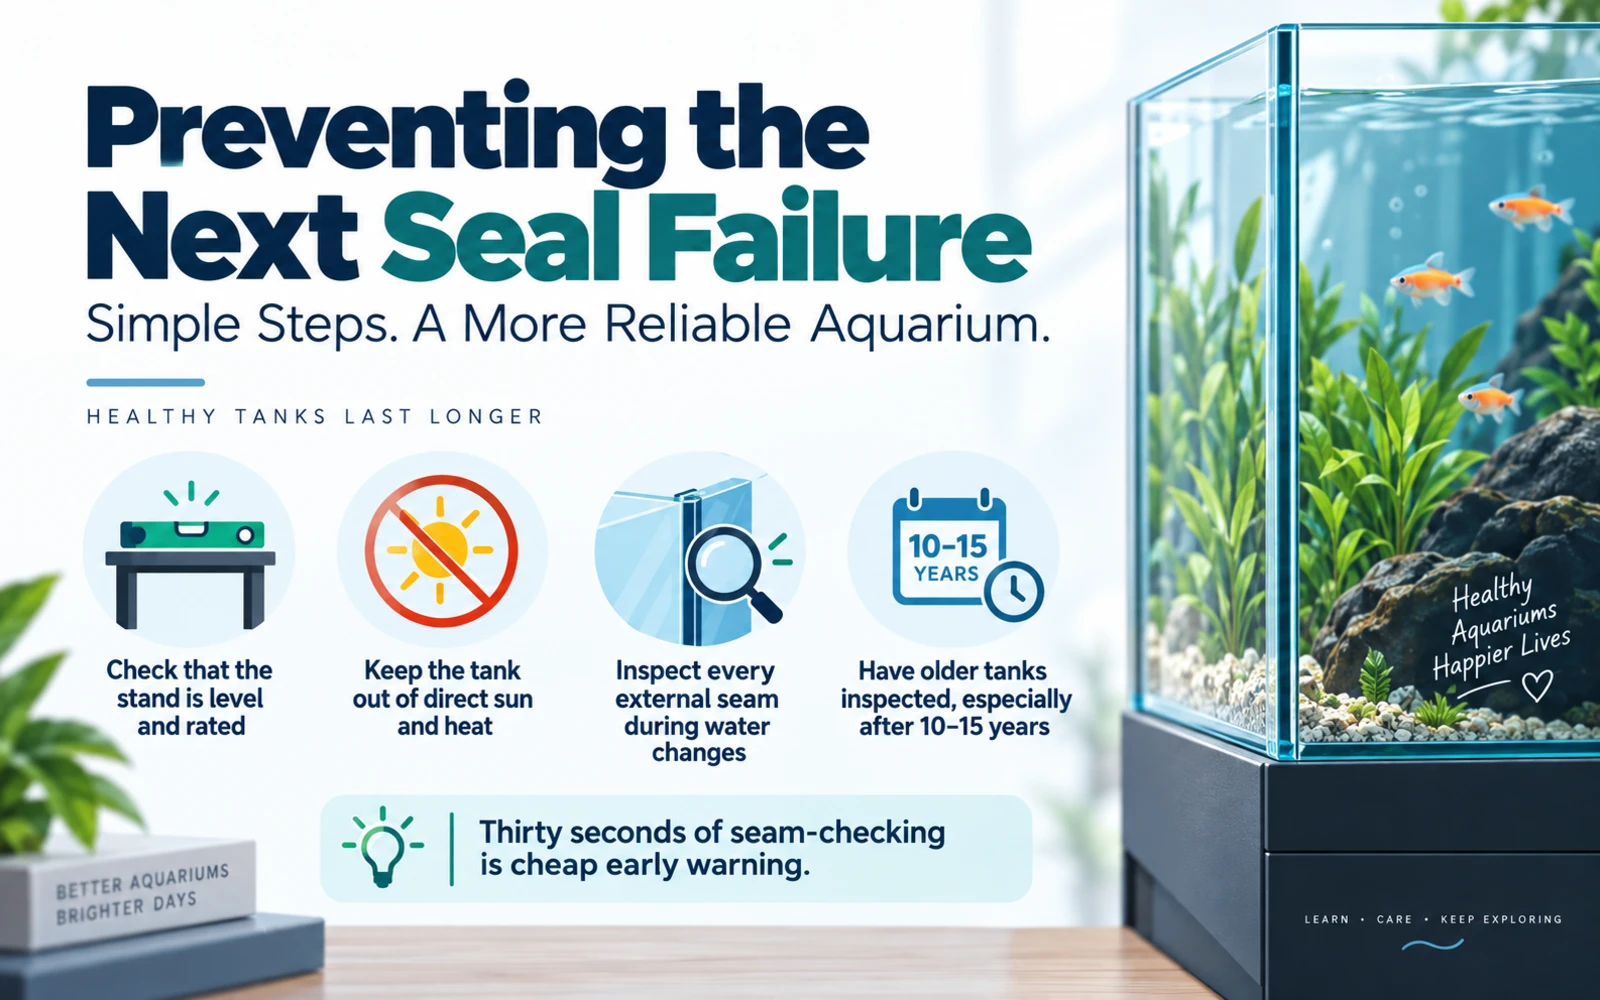
- Check that the stand is fully level and rated for the tank's filled weight before you ever fill it, and recheck after any move.
- Keep the tank out of direct sun and away from heat sources that accelerate silicone aging.
- During routine water changes, spend thirty seconds looking at every external seam for bubbles, discoloration, or lifting, since this is the cheapest possible early warning.
- Treat any tank over ten to fifteen years old as due for a full seal inspection, even with no visible symptoms yet.
FAQ
Can I just add more silicone over the old bead without draining the tank? No. Silicone will not bond to a wet, dirty, or already-failing surface, and doing this on a full tank risks a worse failure later with no real fix in between. Drain, strip the old silicone, clean, and rebuild the seam properly.
How long does new aquarium silicone need to cure before the tank is safe for fish? Follow the specific product's instructions, since cure times vary by brand and thickness of the bead; some manufacturers specify roughly 48 hours before the seal is considered fish-safe. Do not shorten this to save time. Leak-test with plain water first regardless of what the label promises.
Is a small water stain on the floor behind my tank definitely a silicone seal problem? Not automatically, condensation, a splashing filter return, or a spilled top-off can look similar. But treat unexplained or repeated dampness as a leak until you have actually checked every seam, rather than assuming the more convenient explanation.
Can I use regular hardware-store silicone caulk instead of aquarium silicone? No. Most general-purpose silicone sealants contain mold and mildew inhibitors that Aquarium Science links to harm in fish and invertebrates. Use a product labeled specifically as aquarium-safe, with no such additives.
My tank is old and one corner is weeping. Should I just replace the whole tank? That depends on the tank's age, size, and the extent of the damage once it is drained and fully inspected, which is a judgment call worth getting a professional opinion on rather than deciding from a single wet corner. If the seal has failed in one place on an older tank, it is common for it to be marginal elsewhere too, which is part of why a full reseal is usually recommended over a spot patch.